???? Free Shipping Over 100 AED ????








Jinro Mini Round Nose Pliers
Jinro Smooth Chain Nose Jewelry Pliers
Curved Precision Tweezers

Everything required to create this beautiful bracelet • Hover for details
Prepare the Beading
Step 1:
Wire Start by cutting a piece of beading wire measuring approximately 25 to 30 cm.
Insert the Knot Cover and Stopper
Step 2:
First, pass the wire through a knot cover and then slide on a regular stopper (crimp bead). These components will help secure the clasp and create a neat, professional finish at the end of the bracelet.
Secure the Wire with the Stopper
Step 3:
Loop the wire back and pass it again through the knot cover. Using a pair of chain nose pliers, gently press the stopper bead so that it tightens around the wire and holds it firmly in place. Make sure the stopper sits exactly in the center of the knot cover, as this will ensure the knot cover closes neatly around it.
Close the Knot Cover and Attach the Clasp
Step 4:
Once the stopper is secured, carefully close the knot cover so it hides the stopper inside. This gives the jewelry a clean and polished look. Then attach one side of the T clasp to the loop of the knot cover.
Add the Beads
Step 5:
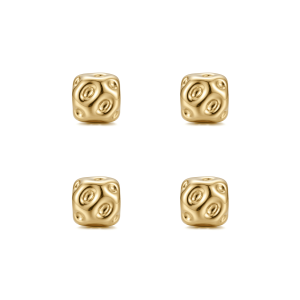
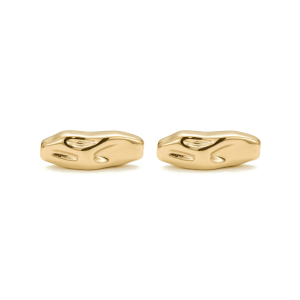
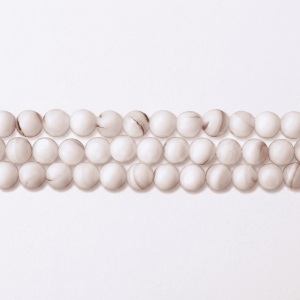
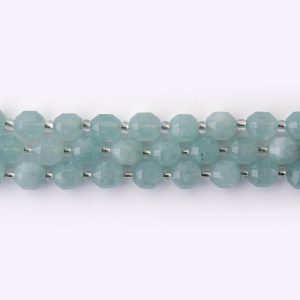
Following the arrangement shown in the video, start putting the beads onto the wire one by one. You can change the design shown in the row or adjust the pattern according to your own taste and creativity. This step allows you to customize the bracelet’s overall style.
Finish the Other Side of the Bracelet
Step 6:
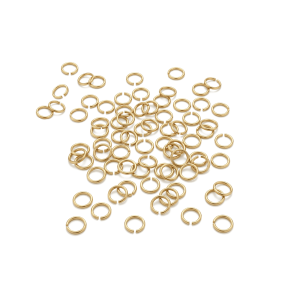
Once all the beads are in place, repeat the finishing process used at the beginning. Slide another stopper bead onto the wire and place it inside another knot cover, then attach the second part of the T clasp, using a jump ring.