???? Free Shipping Over 100 AED ????








Jinro Round Nose Pliers
Jinro Smooth Chain Nose Jewelry Pliers
Curved Precision Tweezers

Everything required to create this beautiful bracelet • Hover for details
Step 1:
Cut a piece of wire rope approximately 40 to 45 cm in length. Thread the wire through a knot cover and then through a regular stopper. Loop the wire back and pass it again through the knot cover.
Step 2:
Using needle-nose pliers, gently press the crimp bead until it is securely fixed in place.
Step 3:
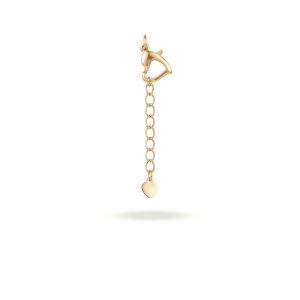
Position the stopper bead exactly in the center of the crimp cover, then close the cover neatly so the stopper is hidden, creating a clean and professional finish. Attach a heart lobster clasp to the first knot cover.
Step 4:
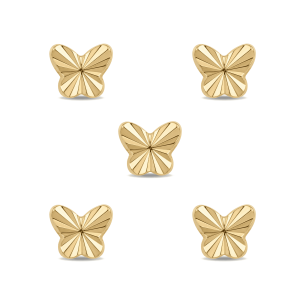
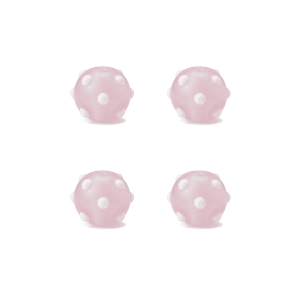
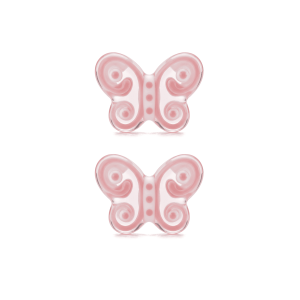
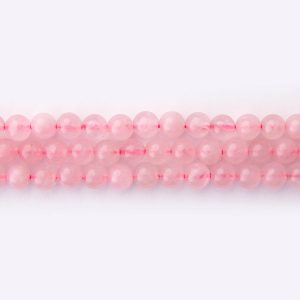
Begin threading the beads and spacer beads onto the wire, following your desired design or reference. The choice of stones and spacers is completely flexible and can be customized to your taste.
Step 5:
Once all beads are in place, repeat the same process on the other end: add a stopper and knot cover, secure them with pliers, and close the cover neatly.
Step 6:
Finally, attach the chain of clasp to the second knot cover.