???? Free Shipping Over 100 AED ????







Jinro Mini Round Nose Pliers
Jinro Smooth Chain Nose Jewelry Pliers
Jinro Flush Cutter
Curved Precision Tweezers
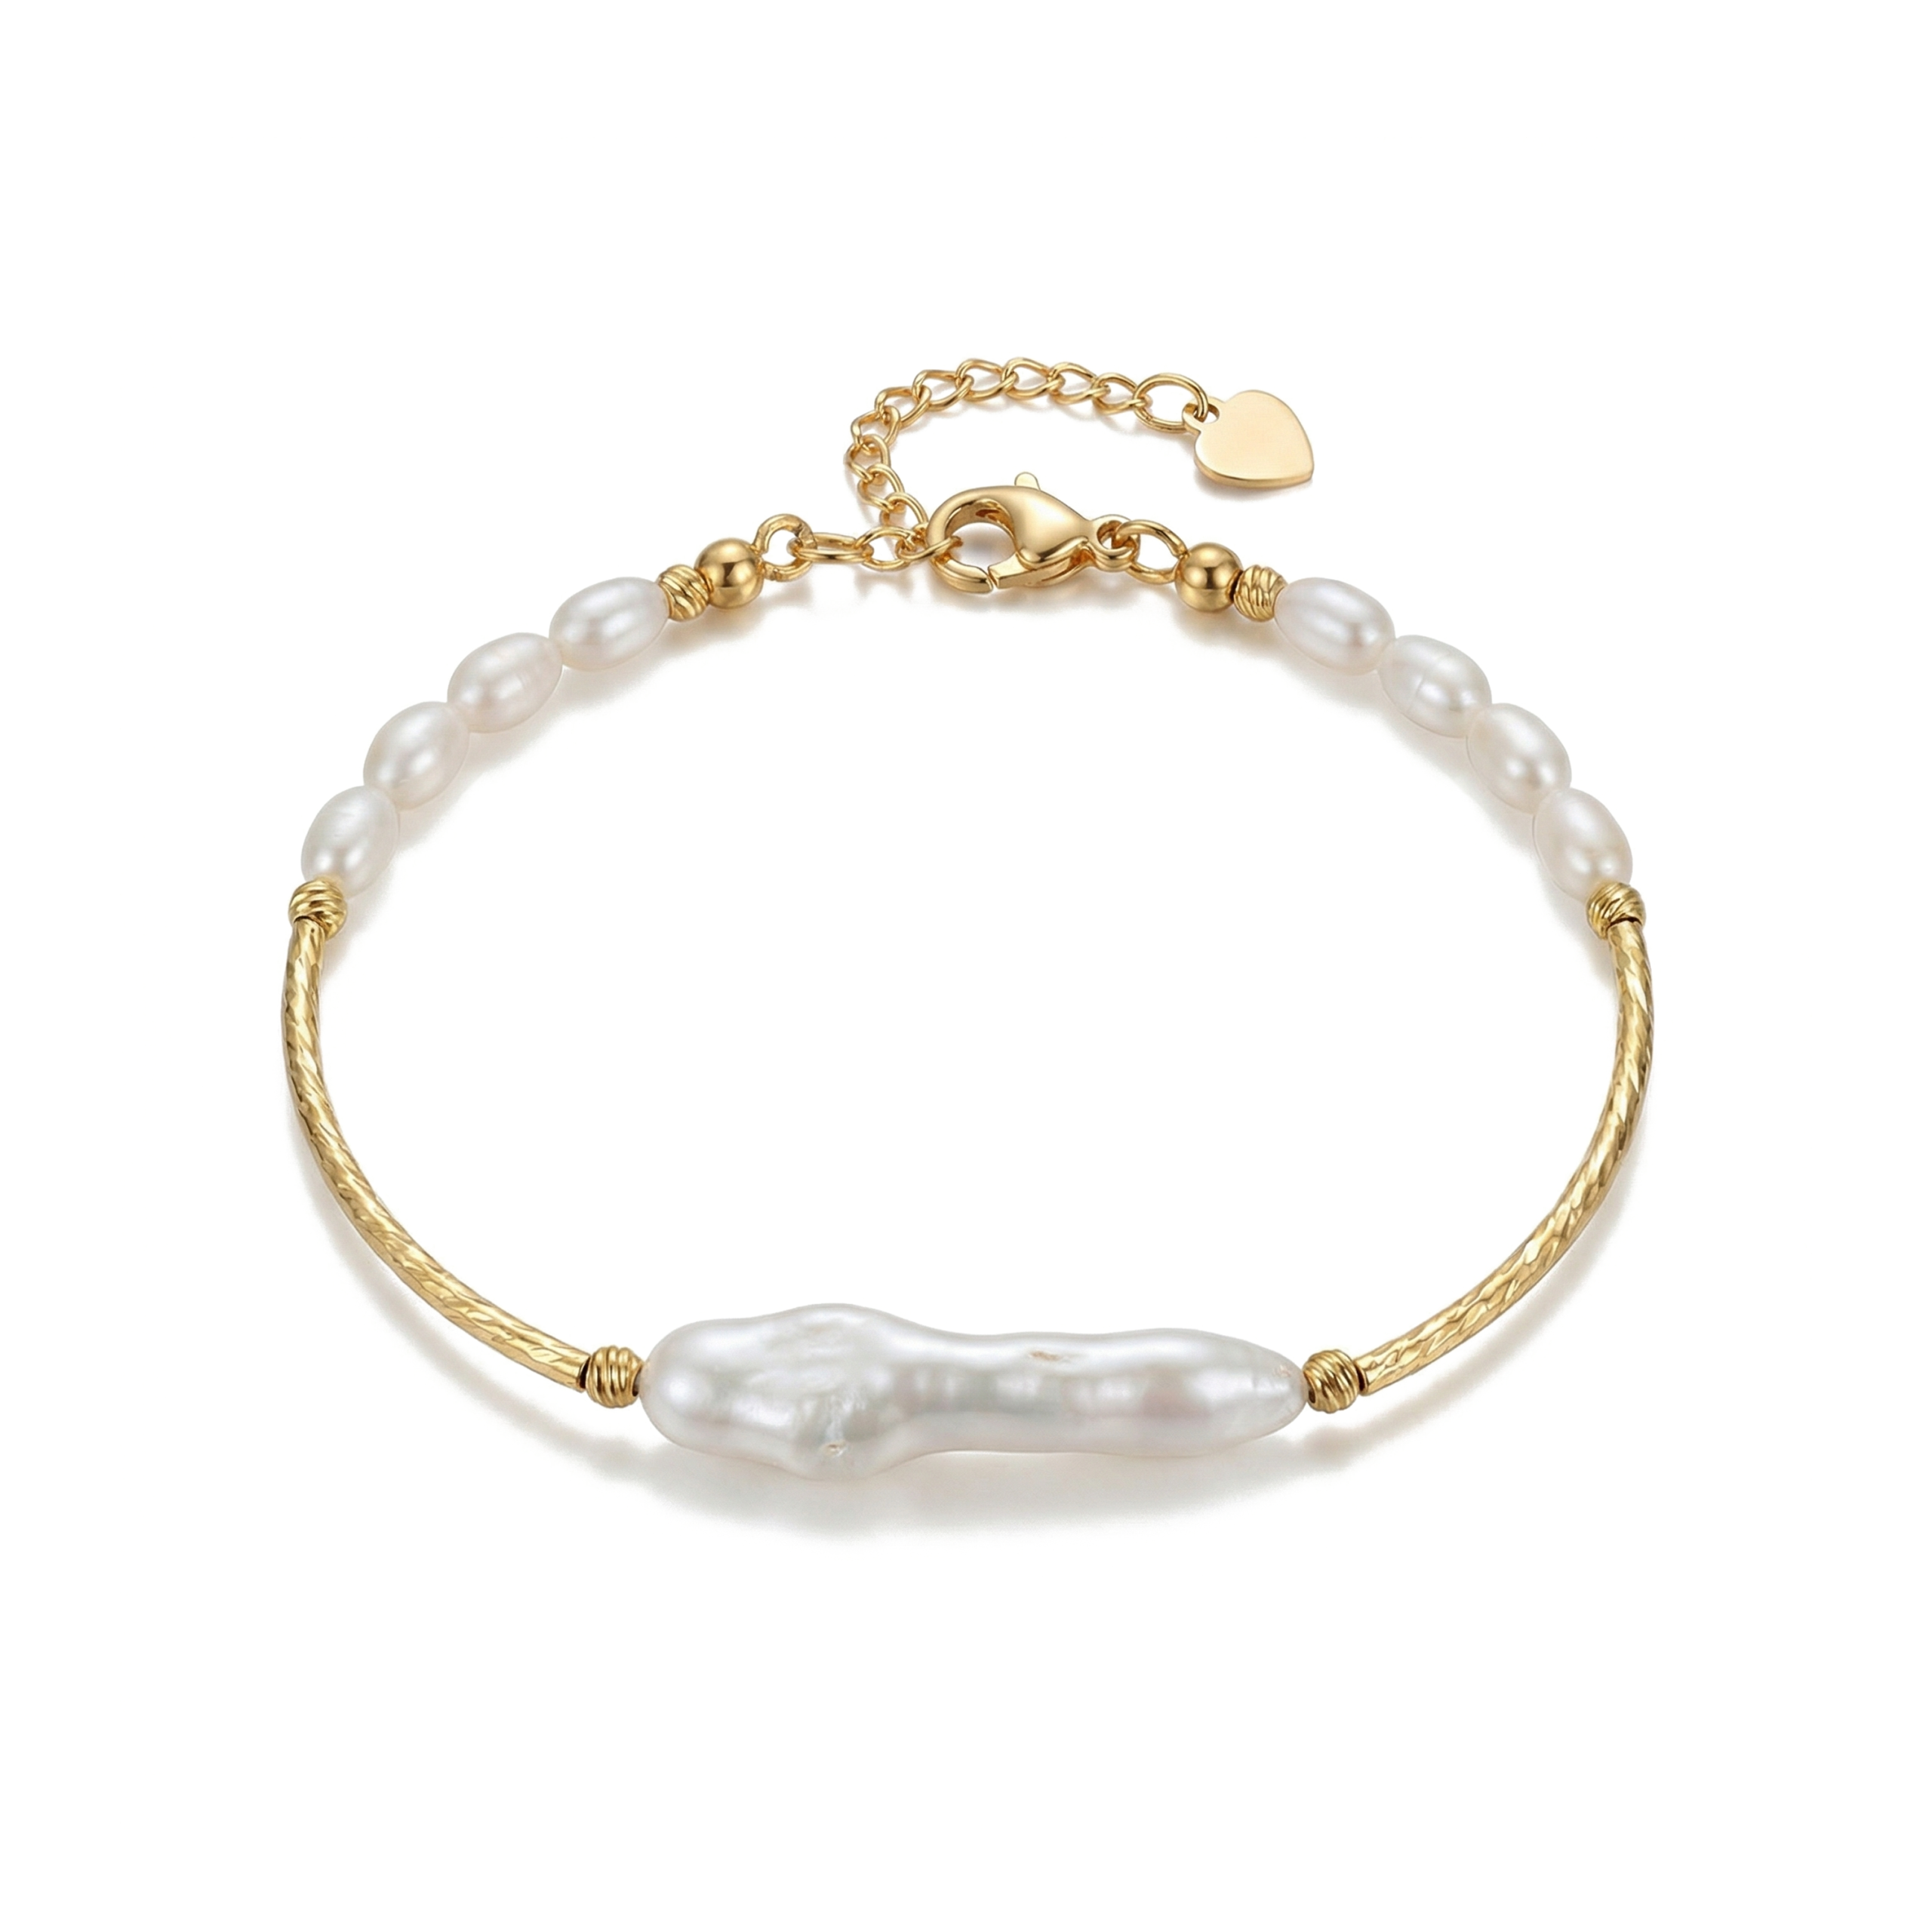
Everything required to create this beautiful bracelet • Hover for details
Prepare the Wire
Step 1:
Cut approximately 20 cm of beading wire. Thread one end through a knot cover and then through a stopper bead.
Secure the Stopper Bead
Step 2:
Fold the wire back and pass it again through the knot cover. Using needle-nose pliers, gently press the stopper bead until it is fixed in place. Position the stopper bead in the center of the knot cover and close it carefully to conceal it and achieve a polished and neat finish.
Add Beads
Step 3:
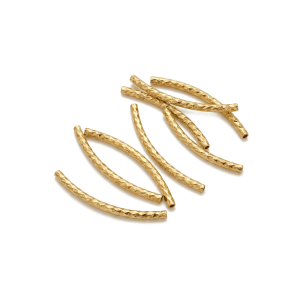
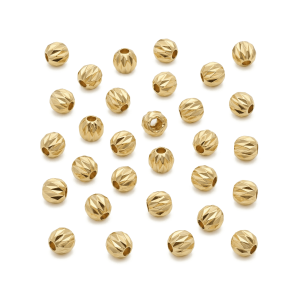
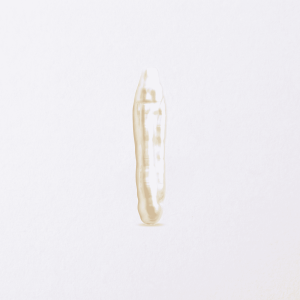
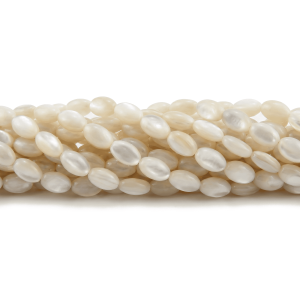
Thread your beads onto the wire according to your design, including irregular and modern spacer beads, natural shells and placing natural baroques in the center of that.
Finish the Other End
Step 4:
Repeat the same process as the first side in step 2.
Attach Clasp with Extension Chain
Step 5:
Attach extension chain to the first knot cover and lobster clasp to the second one. Your bracelet is now complete—elegant, coordinated, and beautifully handcrafted!