???? Free Shipping Over 100 AED ????









Jinro Round Nose Pliers
Jinro Smooth Chain Nose Jewelry Pliers
Jinro Flush Cutter
Curved Precision Tweezers

Everything required to create this beautiful bracelet • Hover for details
Prepare the Wire
Step 1:
Cut approximately 35 to 40cm of beading wire. Thread one end through a knot cover and then through a stopper bead.
Secure the Stopper Bead
Step 2:
Fold the wire back and pass it again through the knot cover. Using needle-nose pliers, gently press the stopper bead until it is fixed in place.
Step 3:
Position the stopper bead in the center of the knot cover and close it carefully to conceal it and achieve a polished finish. Attach extension part of lobster clasp to the first knot cover.
Add Beads
Step 4:
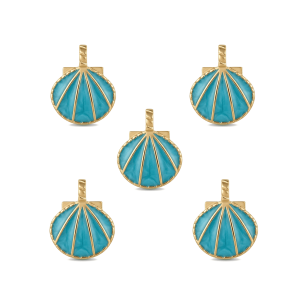
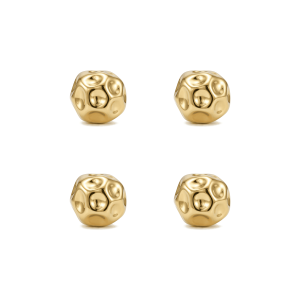
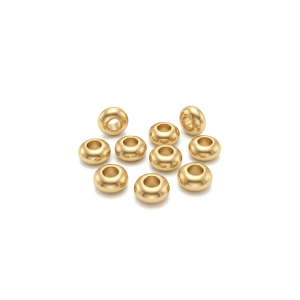
Thread your beads onto the wire according to your design, including spacer beads and placing the shell pendant in the center.
Finish the Other End
Step 6:
Repeat the same process as the first side and add lobster clasp to the second knot cover.
Final Assembly Tip
Step 7:
Make sure the lobster clasp and the extension chain are attached on opposite sides of the bracelet for proper fastening and balance.