???? Free Shipping Over 100 AED ????








Jinro Smooth Chain Nose Jewelry Pliers
Curved Precision Tweezers
Jinro Serrated Chain Nose Pliers

Everything required to create this beautiful bracelet • Hover for details
Step 1:
Cut a piece of wire rope approximately 35 to 40 in length. Thread the wire through a knot cover and then through a regular stopper. Loop the wire back and pass it again through the knot cover.
Step 2:
Using needle-nose pliers, gently press the stopper bead until it is secured in place.
Step 3:
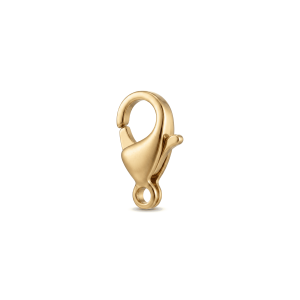
Position the stopper bead precisely in the center of the knot cover, then close the cover neatly so the stopper is hidden, creating a clean and polished finish then attach a lobster clasp to the knot cover.
Step 4:
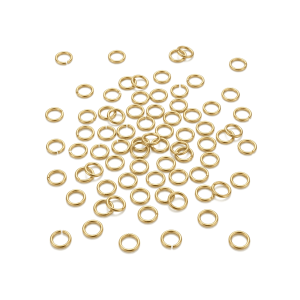
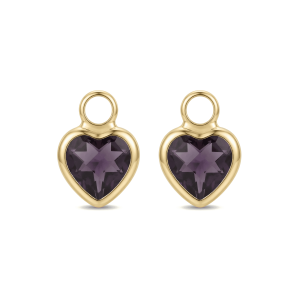
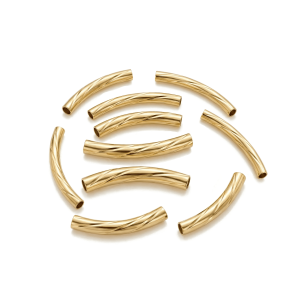
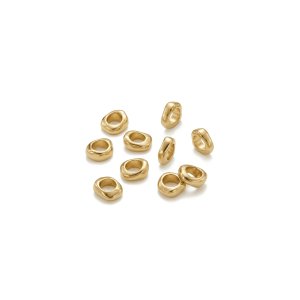
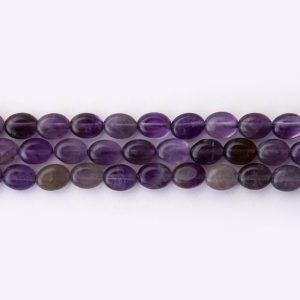
Begin threading the beads and spacer beads onto the wire in a row to reach middle of wire. Then add a jump ring to a heart charm and thread it onto a curved tube spacer bead.
Step 5:
Once all beads are in place, repeat the same process on the other end: add a stopper and knot cover, secure them with pliers, and close the cover neatly.
Step 6:
Finally, attach a jump ring to the second knot cover. “Your beautiful piece is now ready to wear!”