???? Free Shipping Over 100 AED ????
Jinro Round Nose Pliers
Curved Precision Tweezers
Jinro Serrated Chain Nose Pliers
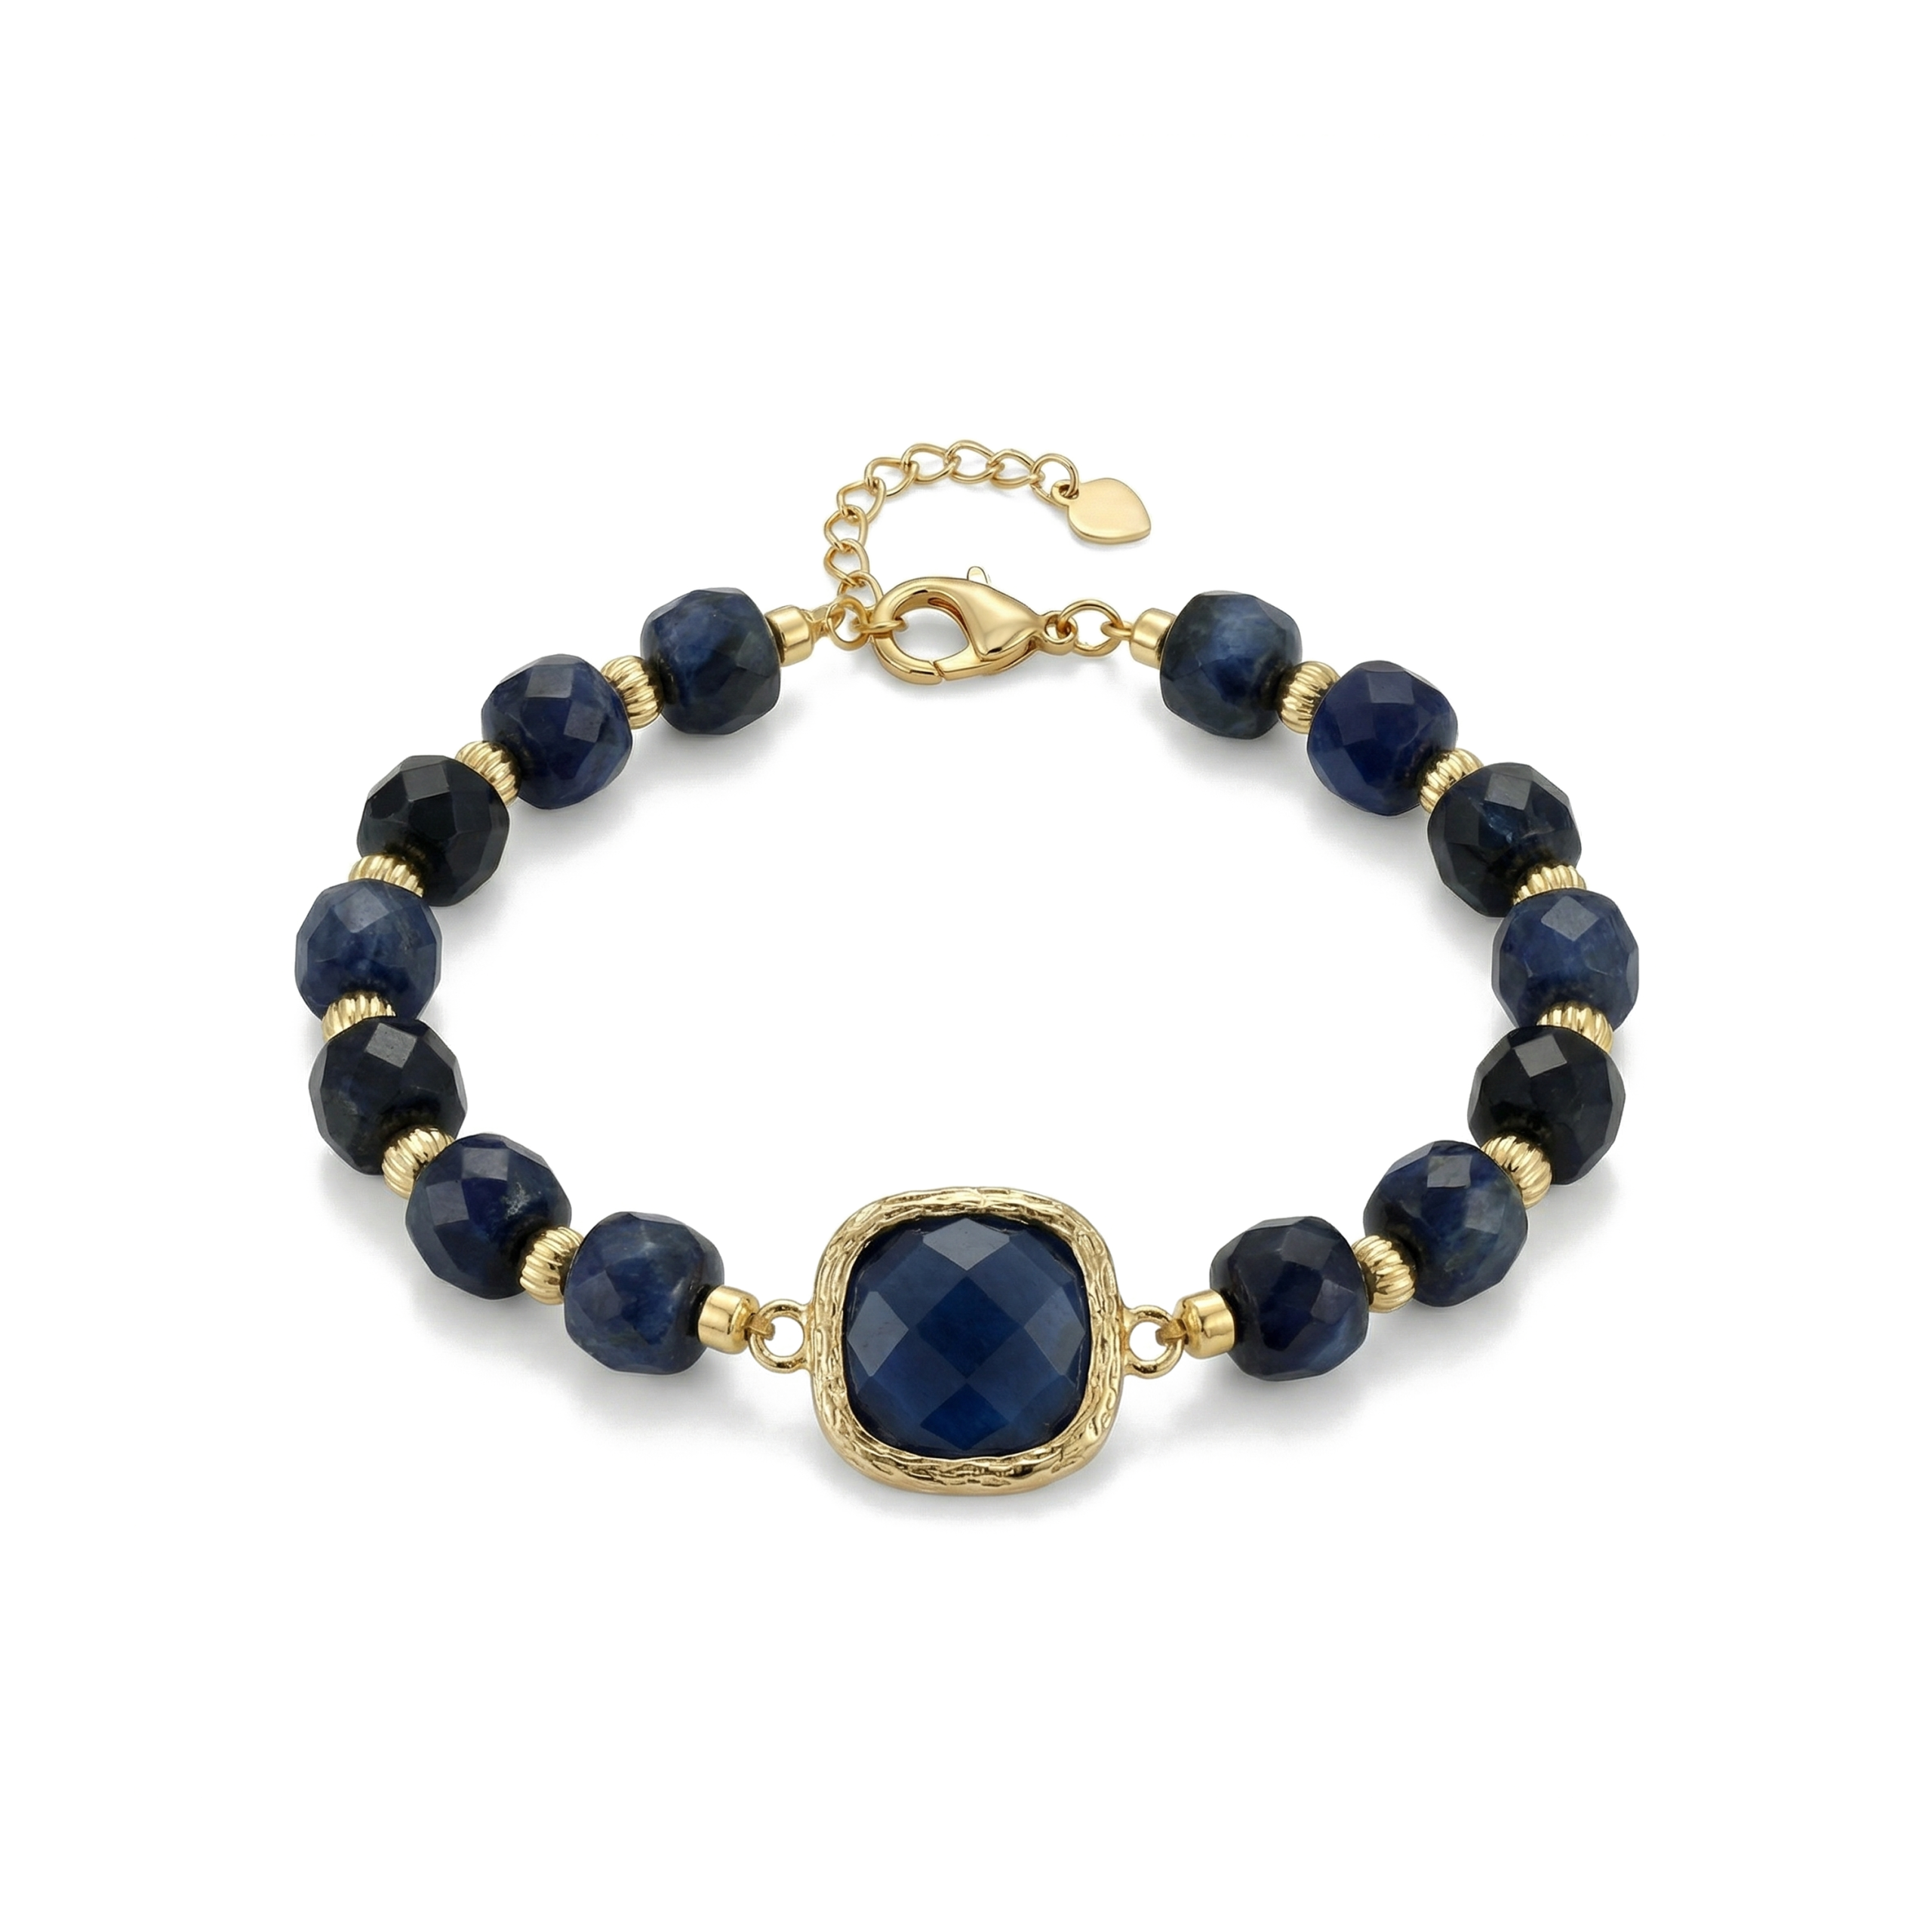
Everything required to create this beautiful bracelet • Hover for details
Step 1
Cut 2 pieces of wire rope approximately 15 to 20cm in length.
Step 2
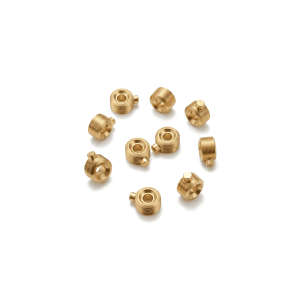
Thread one end of the wire through a valve stopper bead and add a lobster clasp to the wire. Loop the wire back and pass it again through the stopper bead.
Step 3
Using needle-nose pliers, gently press the valve of the stopper until it is securely closed, fixing both the clasp and wire in place.
Step 4
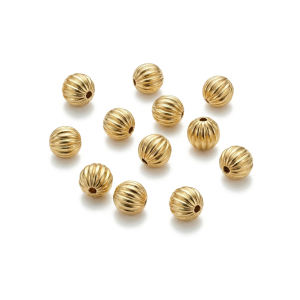
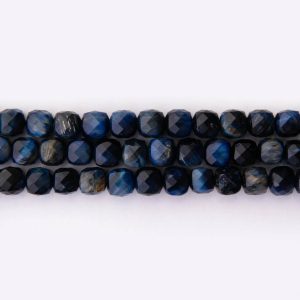
Begin threading the beads and spacer beads onto the wire
Step 5
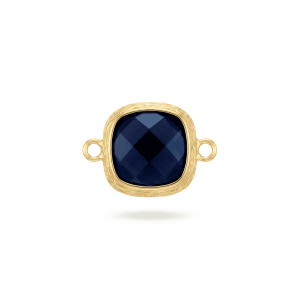
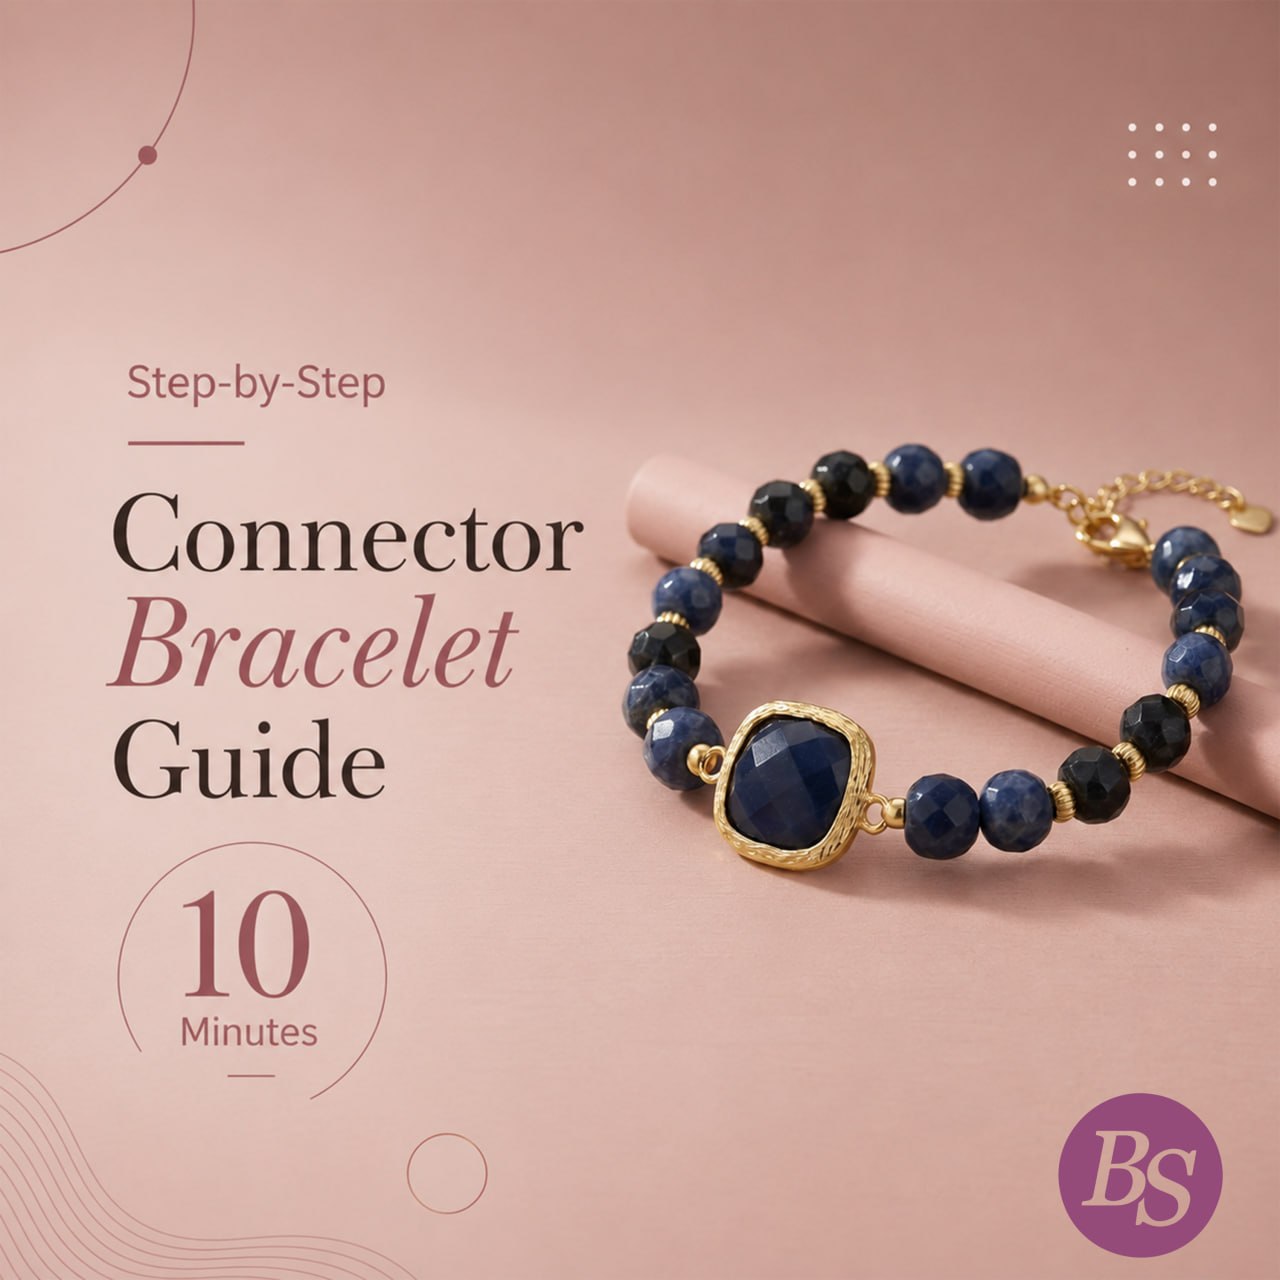
Once all components are in place, thread a second stopper bead and one side of your pre-selected decorative connector to the wire. Loop the wire back through the stopper bead, just as you did on the first side, and secure it firmly by pressing the valve.
Step 6
we repeat all of these steps once again for the second piece of wire with this difference that at the beginning, we place extension part instead of the clasp.
Step 7
Finally, add this piece to the other side of crystal connector, using another stopper, so the connector sits in the center of bracelet as a decorative charm.