???? Free Shipping Over 100 AED ????



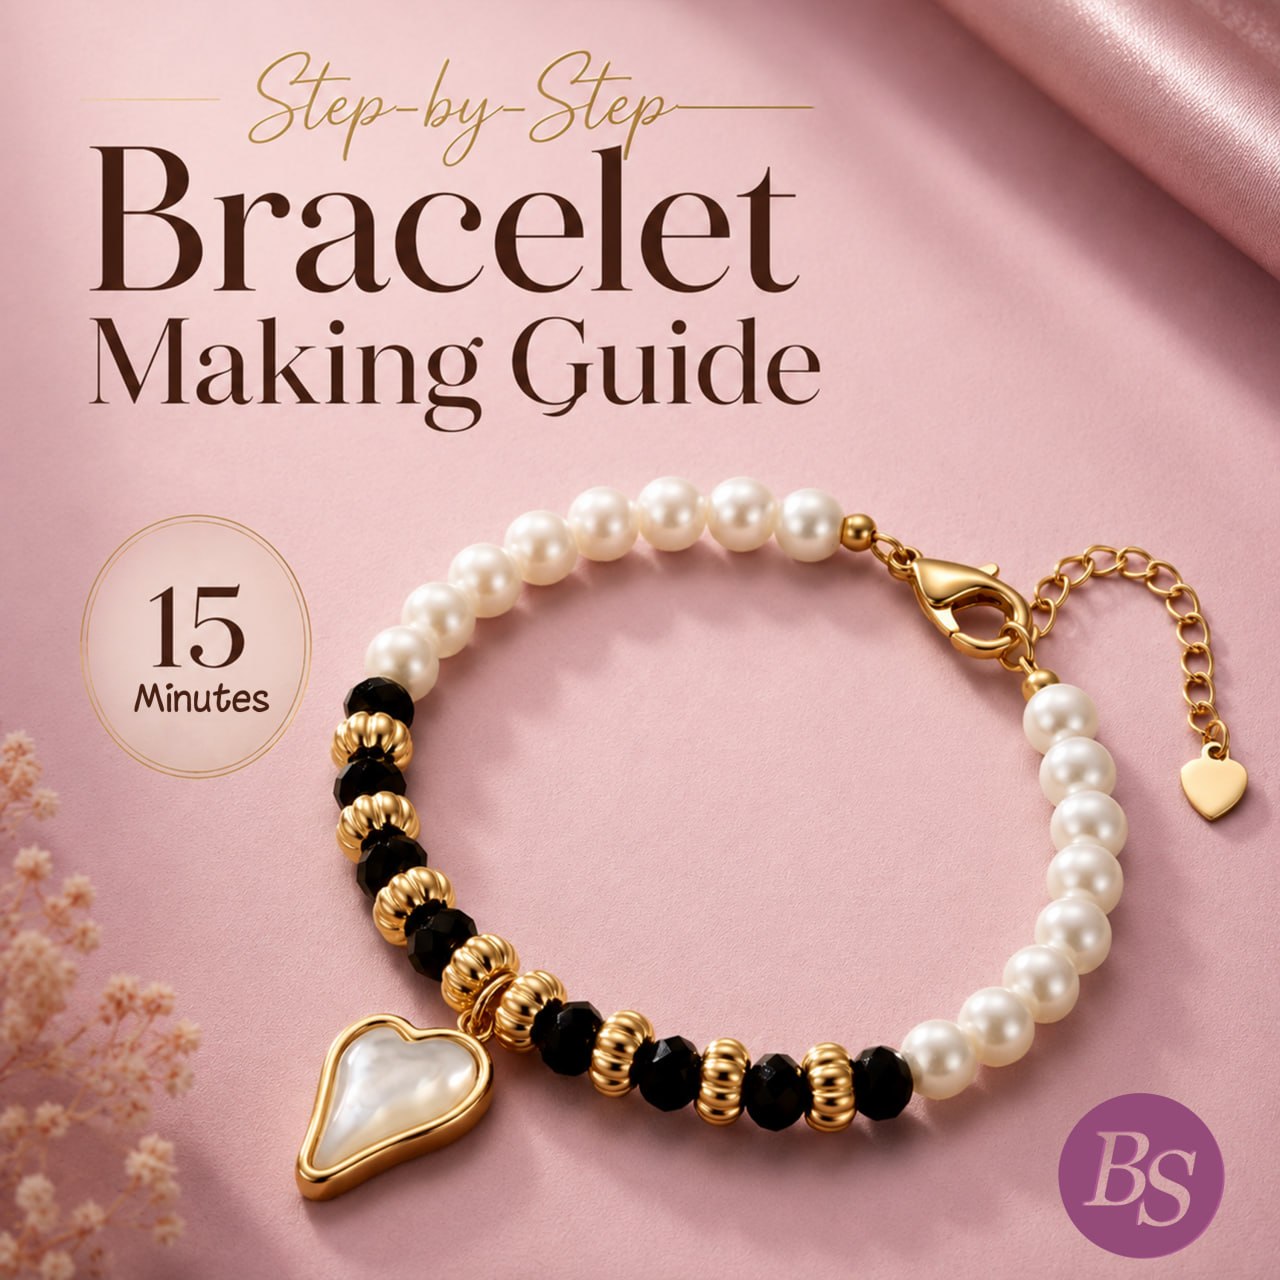

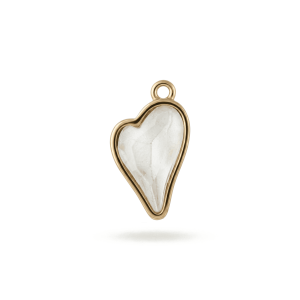
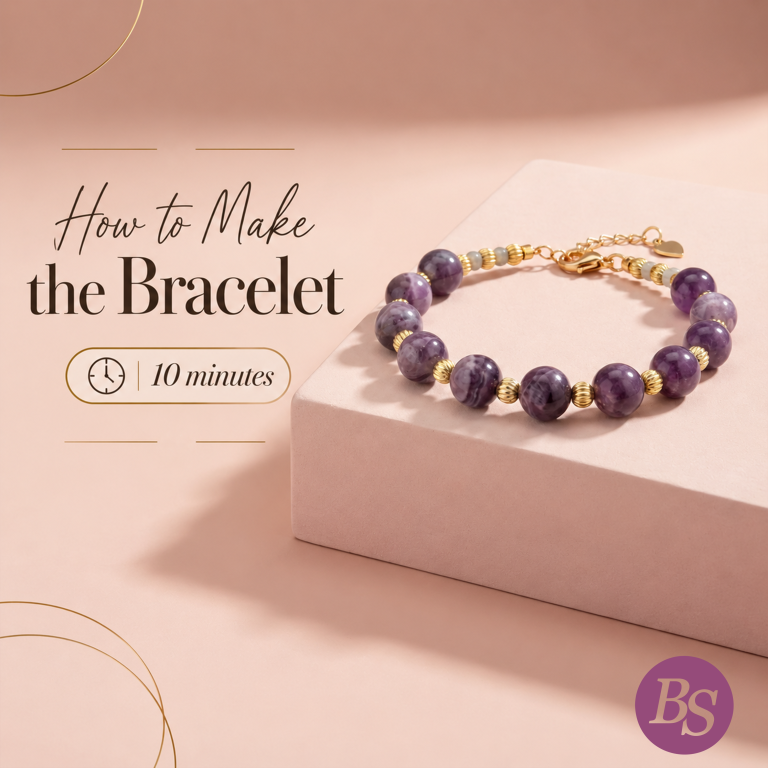
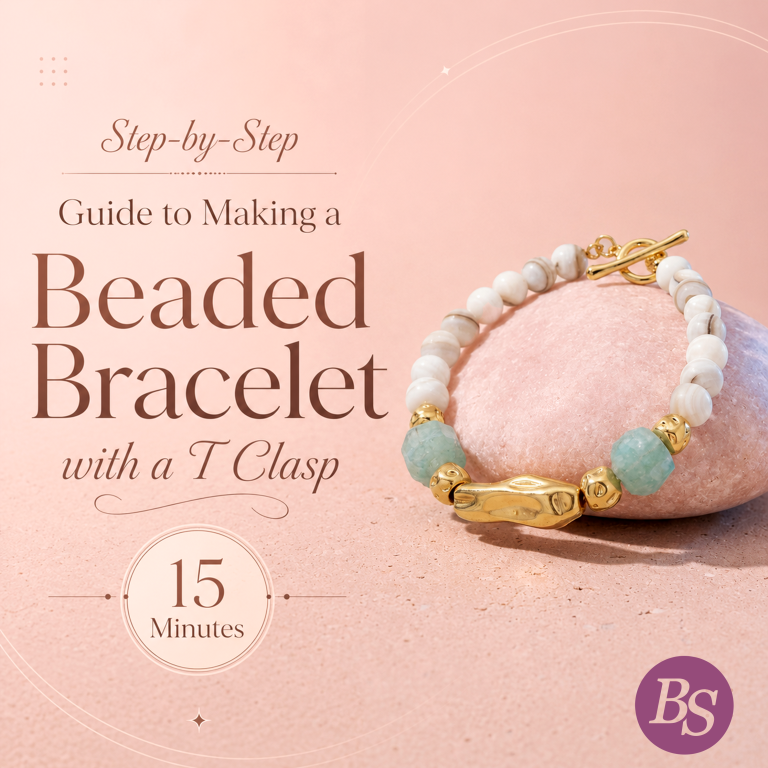
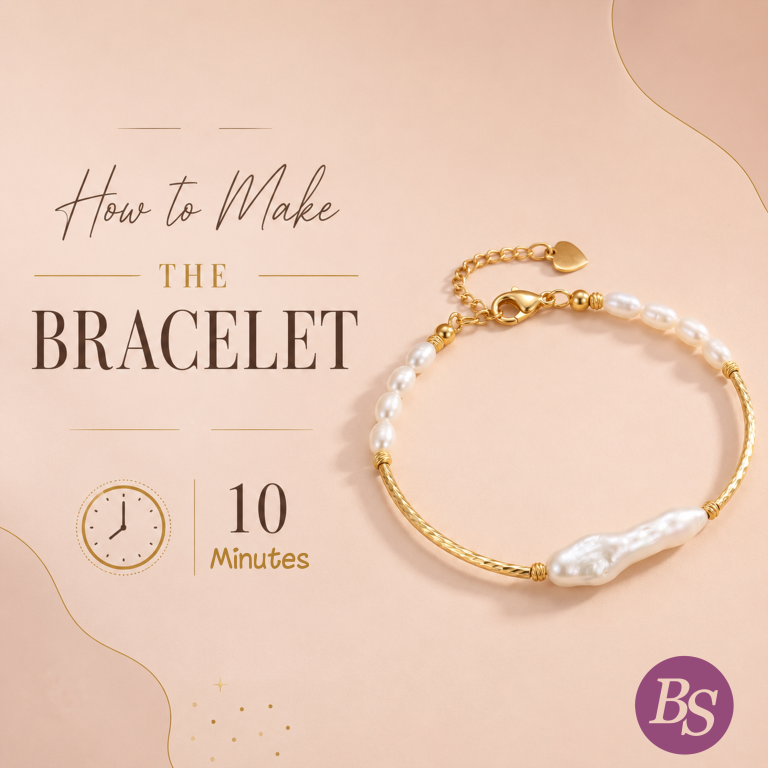
In this video, we’ll show you how to make a bracelet that features a decorative charm.
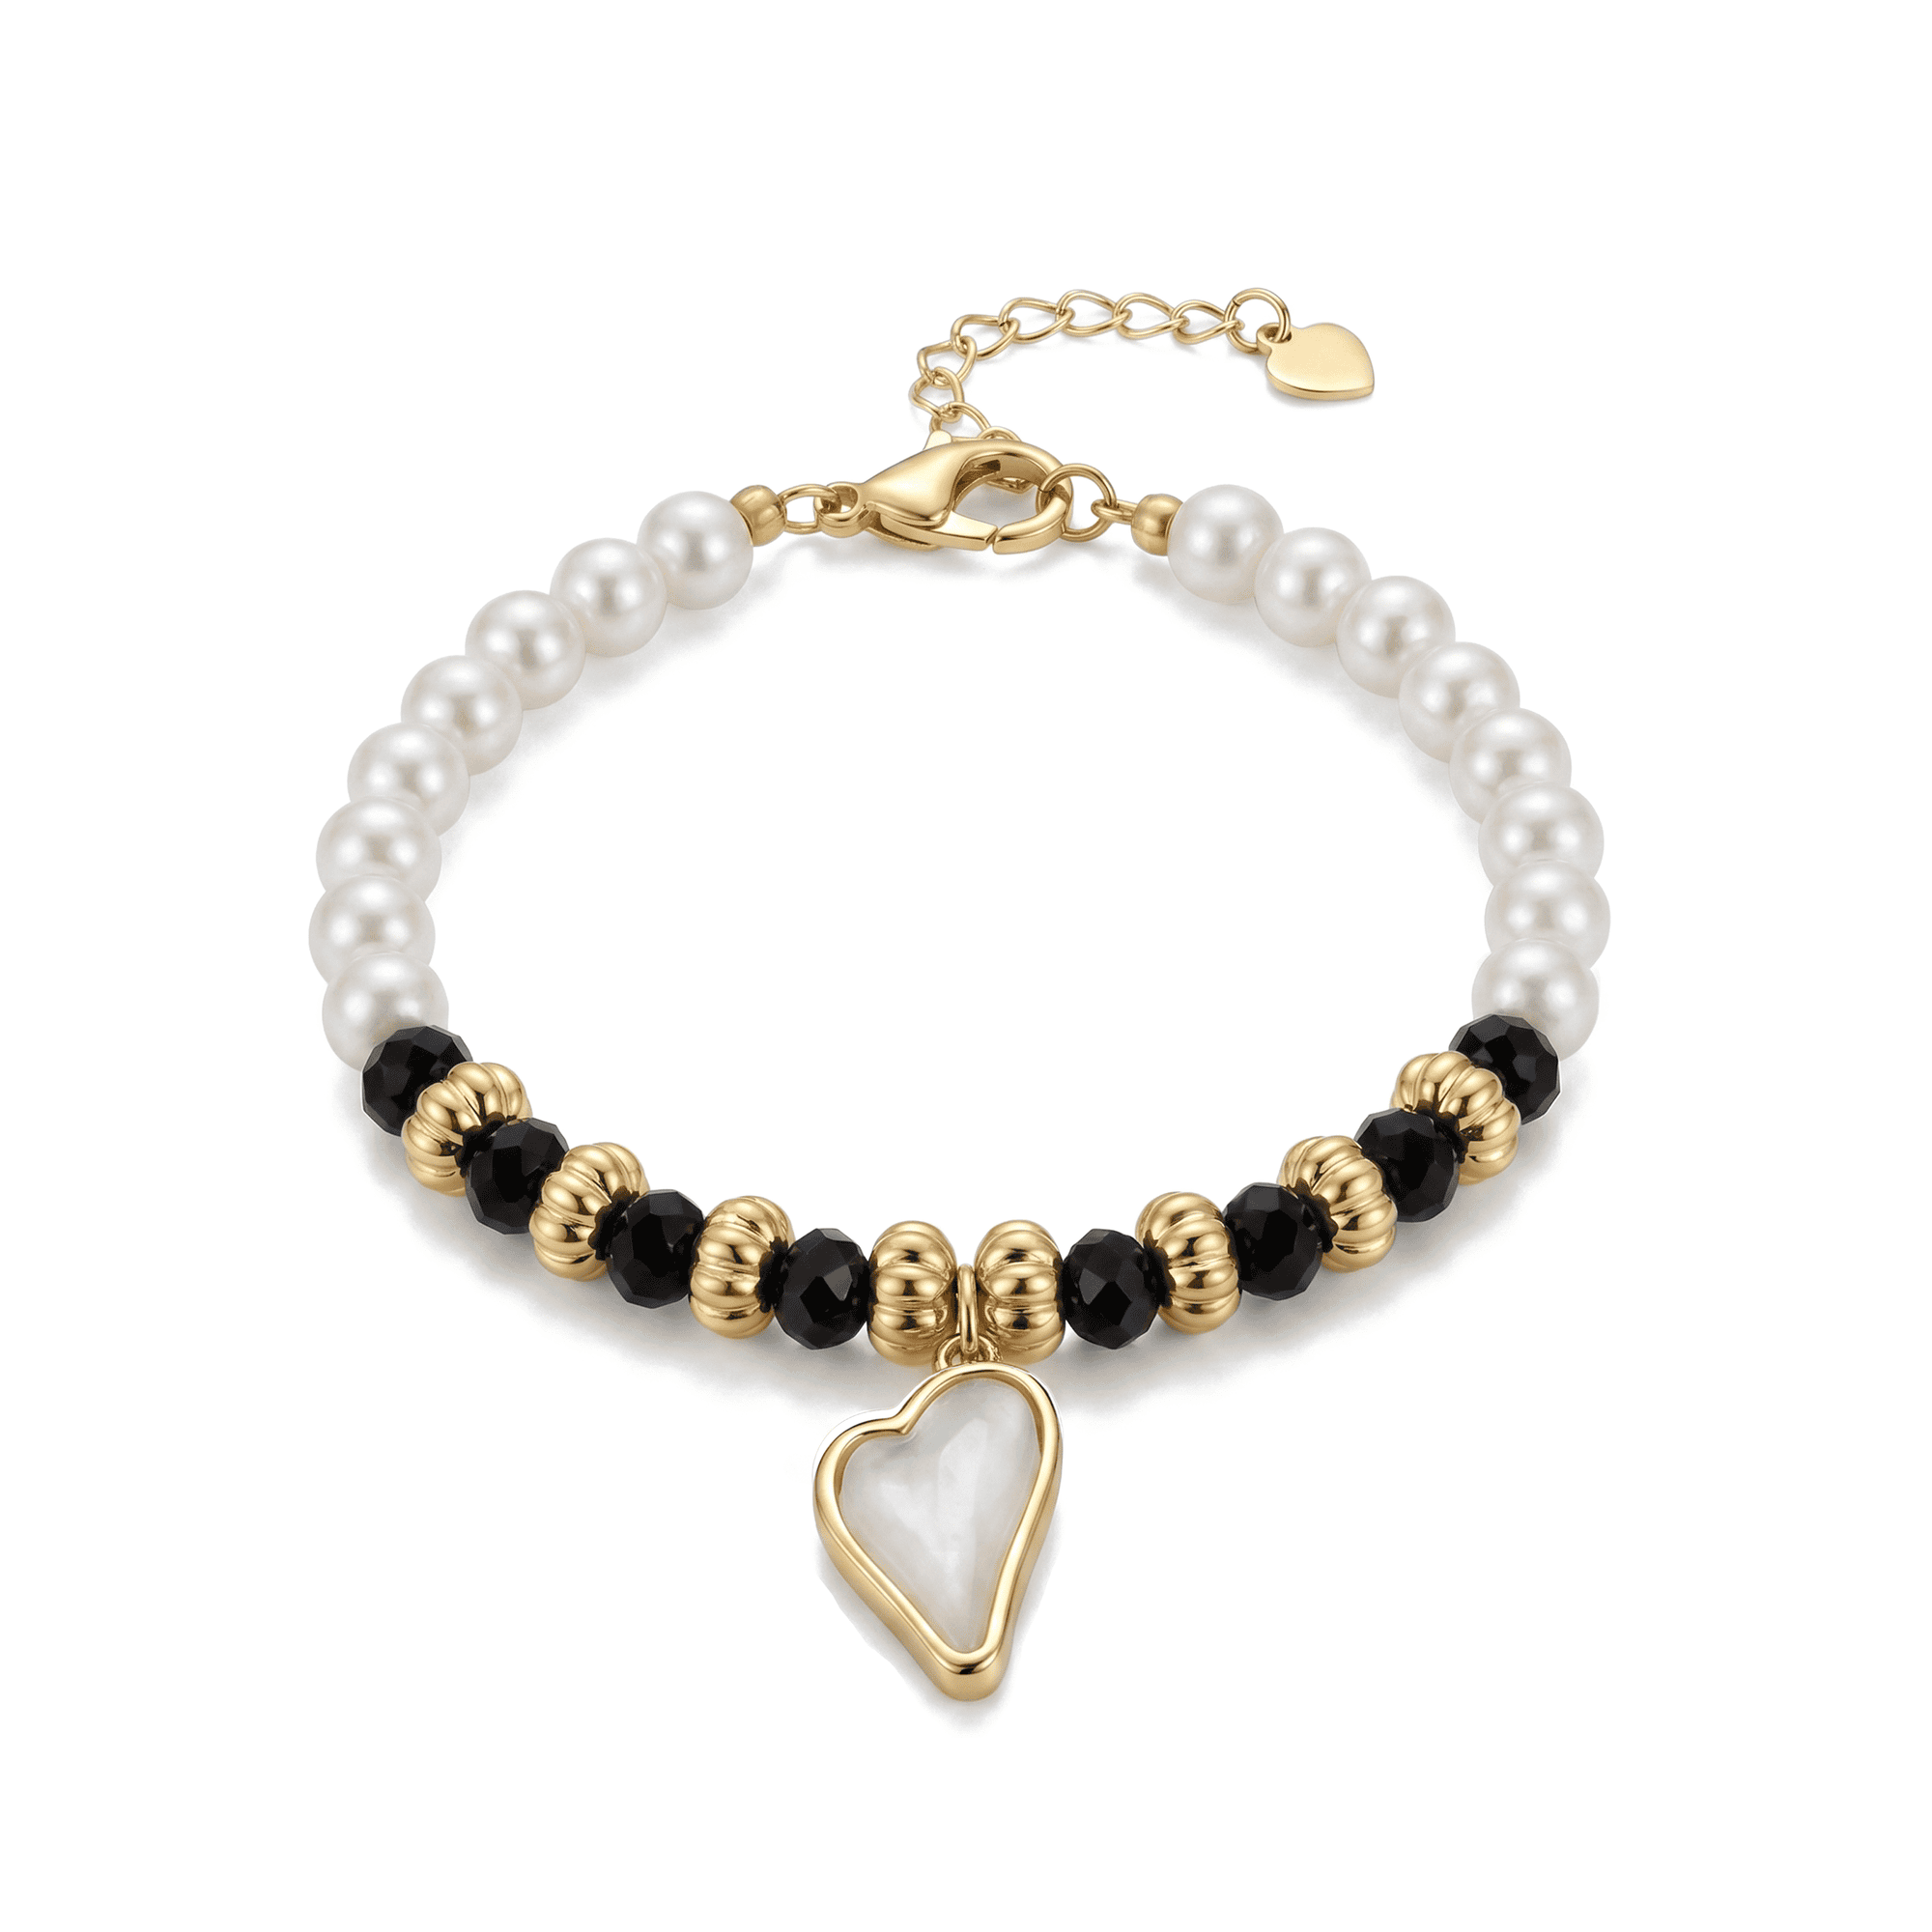
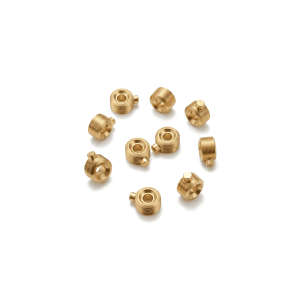
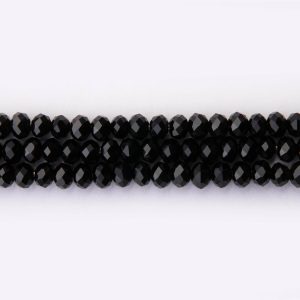
Everything required to create this beautiful bracelet • Hover for details
Preparing Wire
Step 1
Cut a piece of wire rope approximately 25 to 30 cm in length.
Fixing the First Side
Step 2
Thread one end of the wire through a stopper. Attach the clasp ring to the wire. Loop the wire back through the ring and pass it again through the stopper. Using needle-nose pliers, gently press the valve of the stopper bead until it is tightly secured. This will fix both the wire and the clasp extension in place.
Adding Beads
Step 3
Start threading the beads and pendant onto the wire, following your desired design or the sequence shown in your reference.
Finishing the Second Side
Step 4
Once all beads and the pendant are in place, thread a second stopper bead onto the wire. Add another jump ring to the end of the wire. Loop the wire back through the second crimp bead and secure it by pressing the valve firmly with your pliers, just like you did on the first side.
Step 5
Next, connect the lobster clasp side with the extension chain to the jump ring at one end of the bracelet, and secure the extension chain to the other end. “Your beautiful piece is now ready to wear!”